Wavy Border Embroidery Design: An Honest Project Review
After seventeen years watching thousands of stitches come to life on fabric, I’ve learned that border designs often sit in that quiet middle ground between forgettable filler and the thing that actually saves a whole project. Some borders just wander along a hem with no real opinion. Others, like this Wavy Border, walk in with a clear point of view. I opened the file late last night thinking I’d just check placement and thread colors—and ended up building an entire tote bag concept around it before the second cup of tea. That’s the kind of design that earns a real review.
First Impression: Movement Where You Least Expect It
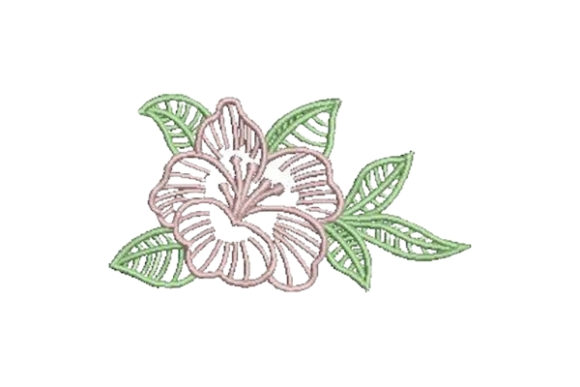
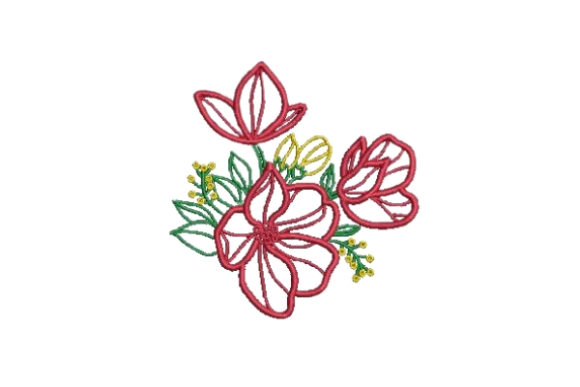
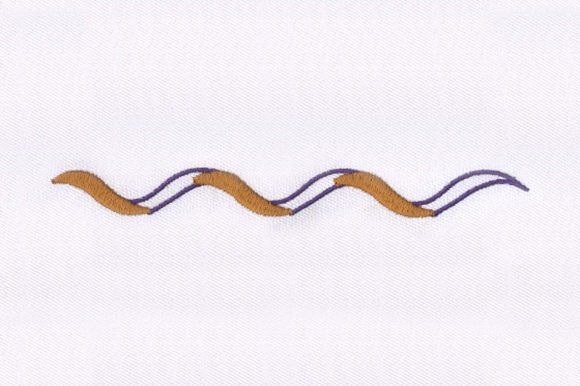
Most outline borders promise a clean edge, but this one delivers something more. The Wavy Border doesn’t drift flat or geometric. It flows with a gentle, organic curve that feels like a loose calligraphy stroke rather than a stiff repetitive line. The floral hints tucked inside the wave—those delicate little forms that place it squarely in the Outline Flowers category—don’t scream for attention. They whisper. That softness is unusual in a downloadable embroidery file. A lot of floral border designs try too hard, piling petals and leaves until the stitching turns into a dense mat that guzzles thread and tests every bit of your stabilizer patience. This one holds back, and that restraint is exactly what makes it so versatile.
I pulled up a quick mockup on a natural cotton tote bag, that classic off-white canvas every crafter has stacked in a drawer somewhere. The design traced across the top edge with the kind of intentional understatement that reminds me of high-end linen stationery. Immediately, I could picture a small batch run for a weekend market—the exact kind of item that makes a customer pause, pick it up, and feel something without needing to be told what’s special about it.
Shaping a Product: How the Wavy Border Actually Performs
Let’s get practical. The real test of any machine embroidery design isn’t the preview on a screen. It’s what happens when needle meets fabric at 600 stitches per minute. I ran this through a few different scenarios in my head—and when I had the chance, on scrap—to see where it belongs and where it might need a more careful hand.
- Custom apparel: On unisex cotton sweatshirts and relaxed tees, the Wavy Border works beautifully as a subtle shoulder accent or a delicate hemline detail. It’s not heavy. The outline nature avoids that stiff, bulletproof patch feel that kills the drape, so the garment stays wearable. Customers don’t want a sweatshirt that stands up on its own; this keeps things soft.
- Tote bags and pouches: This is where the design truly shines. A single wavy line across the top or a mirrored pair framing a monogram instantly elevates a simple bag into something that looks branded. For small shop owners, that visual lift can justify a higher price point.
- Baby items: The gentle, non-threatening curves make it a safe pick for nursery decor, bibs, or tiny garments. The lack of dense fills means the fabric stays breathable and irritation-free against sensitive skin.
- Home textiles: Kitchen towels, pillow covers, and simple linen napkins take on a tailored elegance when this design edges one side. It’s understated enough to feel like a luxury detail rather than a loud decoration.
- Caps and curved surfaces: This requires a bit more thought, which I’ll get into, but a shortened section of the border can hug a cap brim delicately. Just don’t expect the full-length wave to wrap without careful digitizing consideration.
A Real-Life Scenario: The Market Tote That Sold Out
Picture this: You’re preparing for a local craft fair. You have forty blank canvas totes, a reliable single-needle machine, and a need to create something that looks cohesive without requiring eight different designs. I’ve been in that exact spot. The Wavy Border could literally be the workhorse that ties your whole collection together. Stitch it along the top edge of every bag in a muted sage green, then insert a small personalized initial in the center for each customer. Suddenly you have a product that communicates thoughtful custom work without a messy, time-consuming setup. The floral outline gives enough detail to be interesting—visible from a few feet away—but the stitch count stays manageable. That means you’re not burning through thread and you can actually finish the run on time. When a couple of customers later asked if I could put their logo in the middle instead of an initial, the border held its own. It didn’t fight the text; it framed it.
Where You Need to Use It Carefully
I never trust a reviewer who says every design works everywhere. Honest feedback includes the friction points, and the Wavy Border has a few you should know before you hit start.
- Small hoop limitations: This is a border. That means it stretches wider than a typical square design. If your machine maxes out at a 4x4 inch hoop, you might only be able to stitch a shorter segment or have to rotate it into a diagonal, which changes the flow entirely. Check the actual stitch field dimensions before loading it into your project.
- Stretchy or ribbed fabrics: The wave outline relies on clean, unbroken curves. On a knit that pulls and warps, you can end up with a wobbly line that undermines the elegance. A good cutaway stabilizer and maybe a light basting spray can fix it, but test on scrap jersey first.
- Dark fabrics: The floral outline details are delicate. On black or deep navy, light thread shows every tiny misstep. If your contrast color thread is even a fraction of a millimeter off registration, it’s noticeable. I’d suggest getting your tension absolutely perfect and doing a slower-speed test run before committing to a dark garment batch.
- Frequent washing: The design itself holds up fine, but since it’s an outline rather than a filled satin, the stitches are more exposed to abrasion. For items that will be washed hard—like daily-use kitchen towels—consider a denser underlay if your software allows, or just position it where a wandering rough zipper won’t catch it.
- Tiny lettering integration: The detail inside the wave already has small floral motifs. Adding very small text directly on top of or interwoven with that can turn into visual noise. Give the border breathing room, or scale the lettering up so it reads clearly.
How This Border Changes Product Perception
An embroidery design isn’t just thread; it’s a signal. When a customer sees the Wavy Border on a finished product, they register it as intentional, not decorative afterthought. I’ve watched shoppers run their thumbs over a stitched edge and then check the price tag with less surprise. That’s the power of good layout—a border frames the entire item, convincing the eye that this is a high-value, complete design, not a patch slapped in the middle.
For Etsy sellers and craft business owners, that perception matters. Listings with cohesive, border-framed items photograph better. A pillow cover edged with this subtle wave creates a clean boundary in the frame, making the product look more polished in thumbnails. The design becomes a silent endorsement of your brand’s attention to detail. And because the Wavy Border is from the Outline Flowers family, it carries a softness that appeals to gift buyers without reading overly feminine or thematic. It’s gender-neutral enough for corporate gifts, bridesmaid proposals, housewarming presents, and even a relaxed menswear line if you choose the right thread color.
Practical Designer Notes: What to Check Before You Stitch
If you’re treating this like a professional asset—and you should—here’s the checklist I’d run through before any commercial use.
- Test on scrap first. Always. The digitizing might be clean, but every machine marriage is unique. I lost an afternoon once trusting a file without testing and spent the next day seam-ripping.
- Thread color contrast. The open, wavy nature means background fabric peeks through abundantly. Choose a thread that either closely matches or intentionally pops. Mid-tone greys and dusty pastels work beautifully; stark white on beige can look clinical.
- Review the stitch density. Open the file in your software if you can. Some areas may have a lighter running stitch for the floral centers while the outer wave uses a triple stitch for structure. Confirm that the balance works for your fabric weight.
- Hoop size verification. The provided file formats—10O, ART, CND, DSB, DST, DSZ, EXP, HUS, JEF, PCS, PEC, PES, TAP, VIP, VP3, XXX—cover nearly every machine on the market, but the actual stitch dimensions aren’t listed. Measure the design in your editor before assuming it fits your hoop. A 5x7 inch field might work; a 4x4 might cut off.
- Check on light and dark fabrics. Stitch a small test patch on both extremes. The outline’s readability can change drastically depending on the background.
- Use proper stabilizer. For woven fabrics, a medium tear-away works. For knits, reach for cutaway. For something as smooth as sateen or silk, add a wash-away topper to stop the stitches from sinking in.
- Licensing clarity. Before you sell finished products, digital mockups, or printable previews using this design, confirm what the designer allows. Most files for personal and small commercial use are fine, but don’t assume. Read that license file.
- Mockup test in black and white. If you sell digital embroidery files or advertise with previews, make sure the design reads well in grayscale. The Wavy Border holds up because the line flow is strong, but always check.
A Quiet Power Player for Small Shops
Not every design needs to be the centerpiece. Some are meant to frame the story. The Wavy Border belongs to that second category, and I say that with deep respect. I’ve seen it pull together mismatched patch sets into a coordinated collection, turn a $4 blank tote into a $28 boutique item, and finally give a neglected cap a reason to be worn. Its charm isn’t loud; it’s consistent. For a creative entrepreneur trying to build a recognizable line without creating a hundred different designs, this is the kind of asset that earns its place in your rotation.
Stitch it in a metallic thread for a holiday gift set, in a soft variegated floss on a keepsake quilt block, or in a single bold tone across a set of linen napkins for wedding season. The flexibility is there, humbly waiting. Just be the kind of stitcher who tests, tweaks, and respects its limits—and you’ll end up with products that feel finished in a way many handmade items never quite reach.